That’s why we created this guide to help you find your way around and complete this side mission.
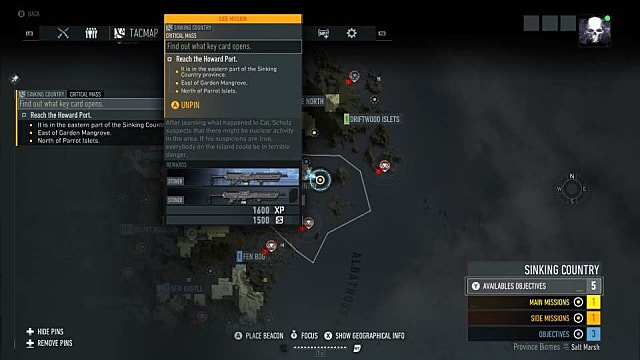
After talking to Schulz in Erewhon, you’ll learn he fears there’s nuclear activity on Auroa. His briefing sends you to Howard Port, which is in the central-eastern portion of the map, southwest of the Driftwood Islets.
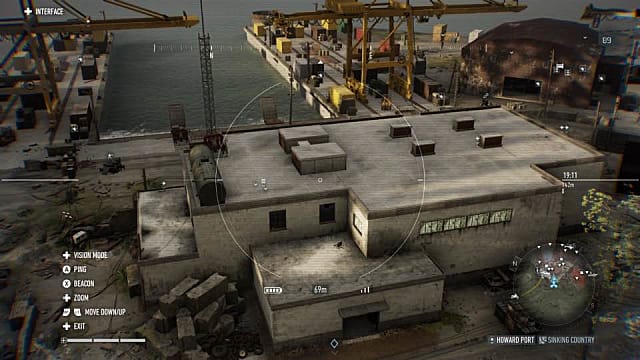
Inside the enemy encampment, there’s a two-story grey building. Upstairs in that building, there’s crucial intel to give you your next location. Here’s a drone shot of the building you’re looking for if you want to skip the part where you violently interrogate baddies for information.
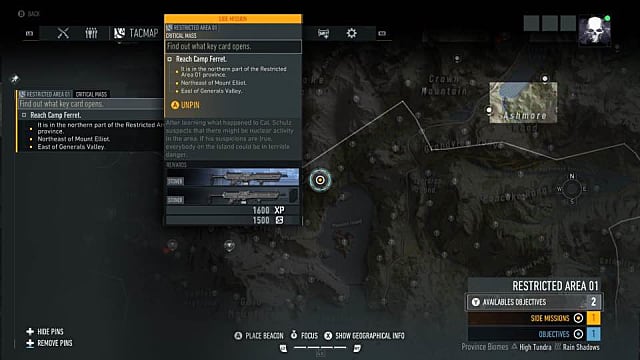
That intel will move you far to the other side of the archipelago, to Camp Ferret, just northwest of Mount Elliot.
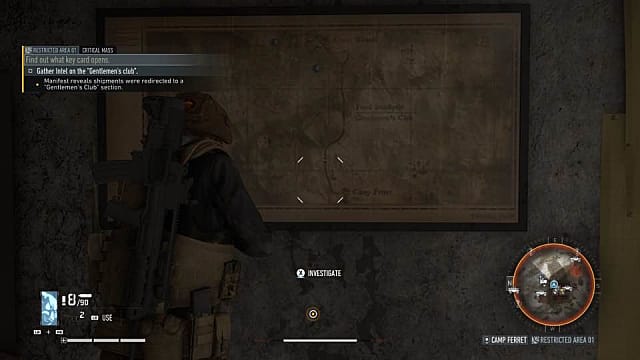
Downstairs in this camp, you’ll find more intel on a table, as well as a map that needs to be scanned.
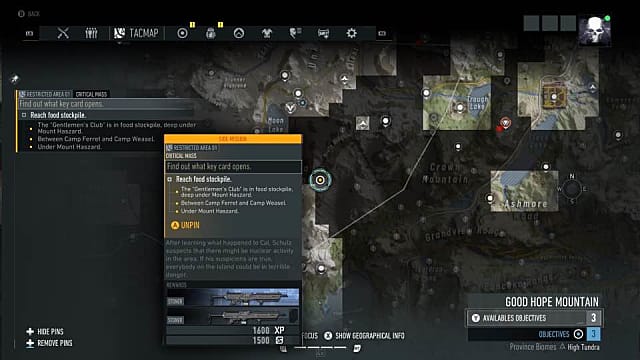
To this point, it’s a pretty standard Breakpoint side mission. But then it gets annoying. Your next location is in an underground tunnel, but the mission marker betrays you. If you go directly to it, you’ll wind up standing on the side of a cliff with no entrance to your destination.
Instead, head 1.4 kilometers south of that marker to the white blip in the screenshot below.
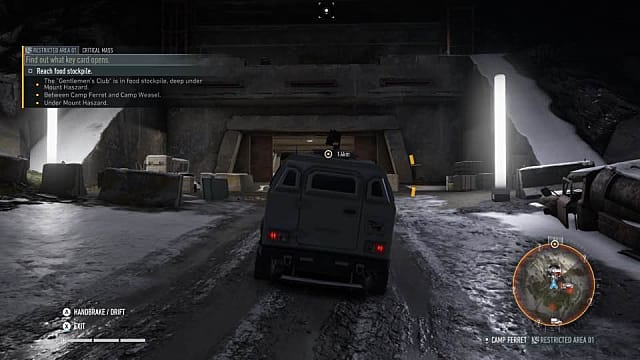
There you’ll find more enemies, some vehicles, and a tunnel. Dispatch or sneak past the guards and take one of the vehicles into the tunnel. Take your first left down the well-lit section and follow it straight until you get to a junction. There are more bad guys where several corridors lead off in different directions.
Most of these tunnels are dead ends, so you’ll know when you get to the right one because it updates the mission marker. Inside is a blast door, but it can’t be opened yet.
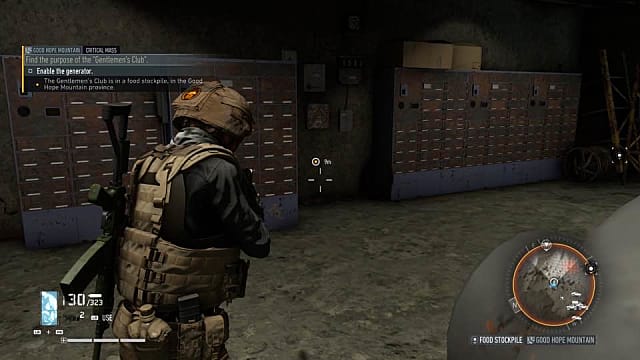
If you’re looking at the blast door, turn left and follow the wiring on the ground into the back rooms until you see an electrical switch that can be interacted with.
This gives you access to the blast room. Inside you’ll find two objectives: a blueprint on the wall and pieces of a bomb. Interact with both in that order and get ready to run.
After you’re done with the bomb, sprint out of that room and be sure to turn and lock the blast door behind you. The game gives you only 15 seconds to do this, and without messing up, you’ll need about 10, so there’s little room for error here.
If you close the door before the bomb goes off, you will have thwarted a nuclear attack. Head back to Erewhon and report to Schulz, who will thank you for doing precisely that before going back to standing in the same spot for 60 gameplay hours.
That’s all you need to know about completing the Critical Mass side mission in Ghost Recon Breakpoint. For more on the latest Tom Clancy shooter, be sure to head over to our Ghost Recon Breakpoint guides page, where you can find more tips articles such as:
How to Call Vehicles How to Drink Water How to Change Class How to Find the Bipod How to Open Locked Doors How to Use the Binoculars How to Hold Your Breath How to Change Aiming Shoulder Weapons Stats Overview List How to Beat A New Perspective Side Mission